Transfer your backed-up data to IDrive® e2 via Veeam® Backup and Replication tool that provide you the total control, super flexibility, and always-on availability to meet your business objectives. Within IDrive® e2, you get highly secure and reliable infrastructure to store enormous amounts of data affordably.
To backup directly to cloud object storage, refer Veeam® 12 guide.
Follow these instructions for installing Veeam® Backup and Replication 11 and refer to the steps below to Configure IDrive® e2 as an Object Storage Repository.
Configure IDrive® e2 as Object Storage Repository
To configure IDrive® e2 as object storage repository follow the steps below:
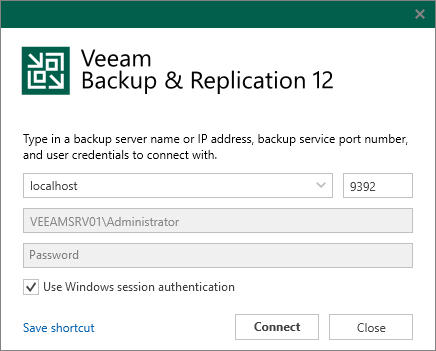
- Launch Veeam® Backup and Replication 12.
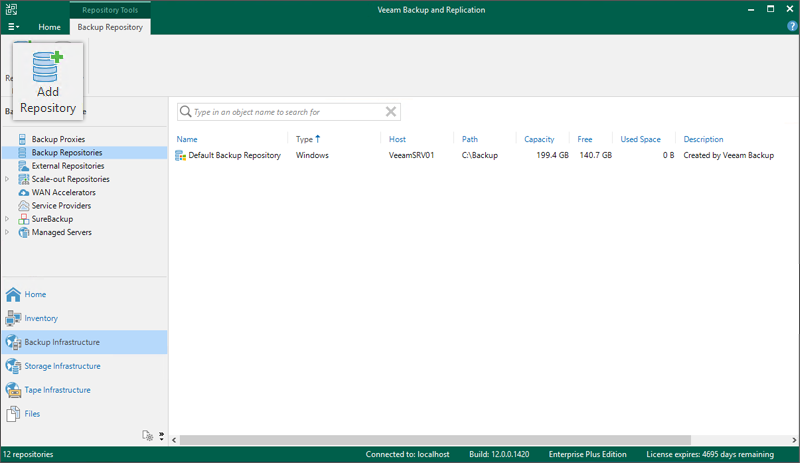
- Navigate to Backup Infrastructure > Backup Repositories and click Add Repository.
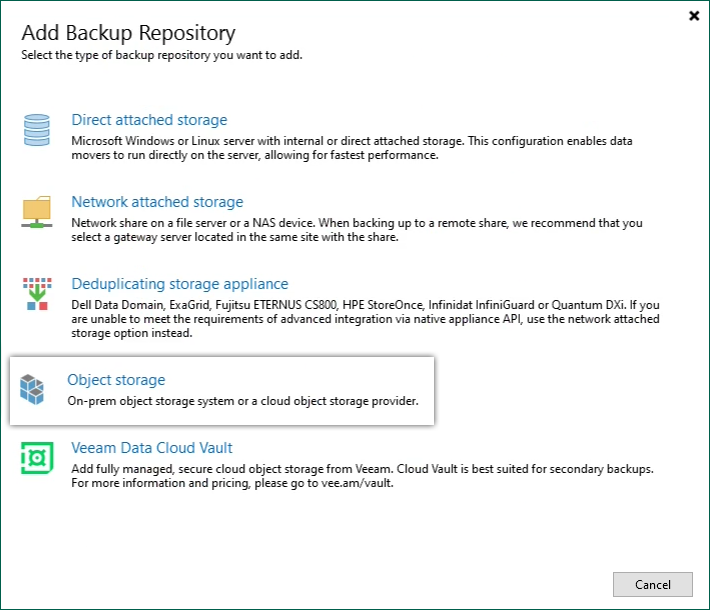
- Select Object Storage.
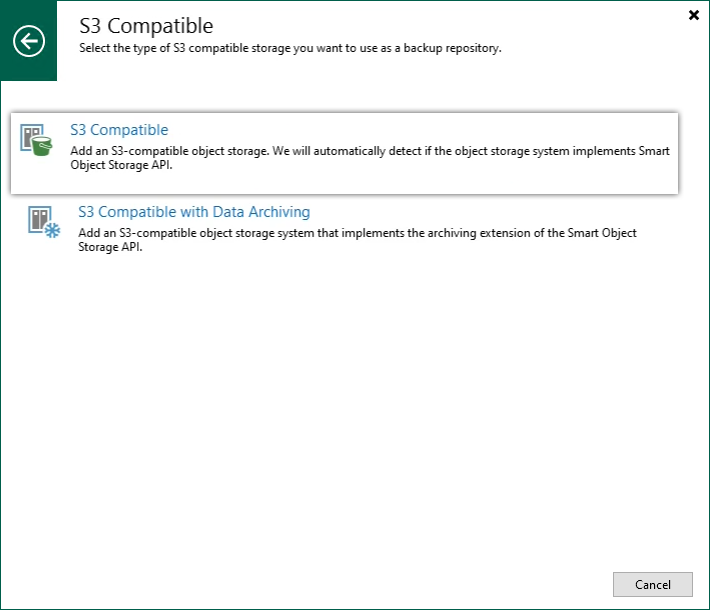
- Select S3 Compatible.
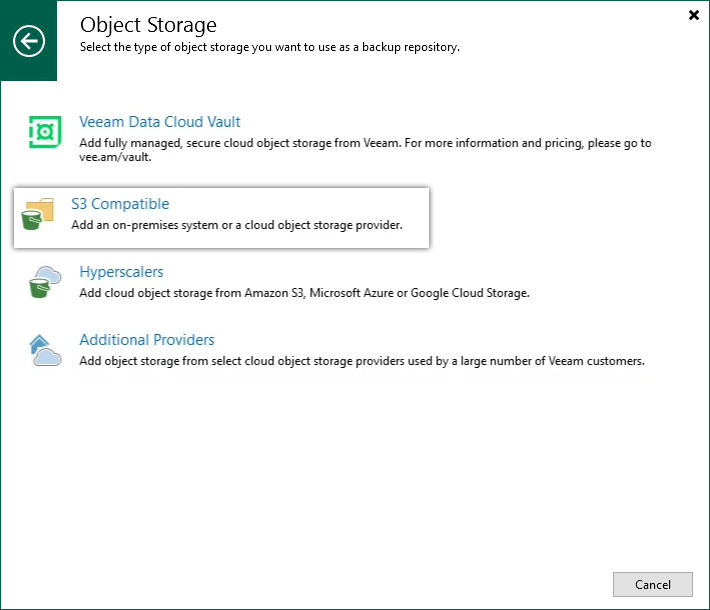
- Select S3 Compatible.
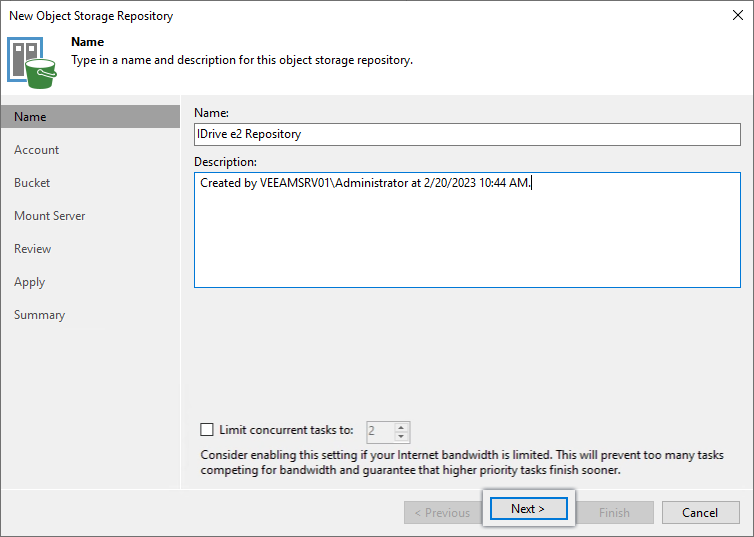
- Enter a Name and Description for the repository. Click Next.
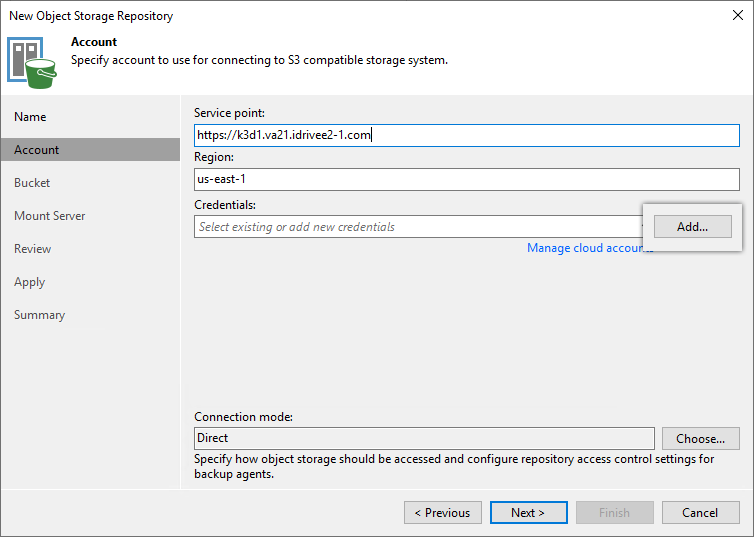
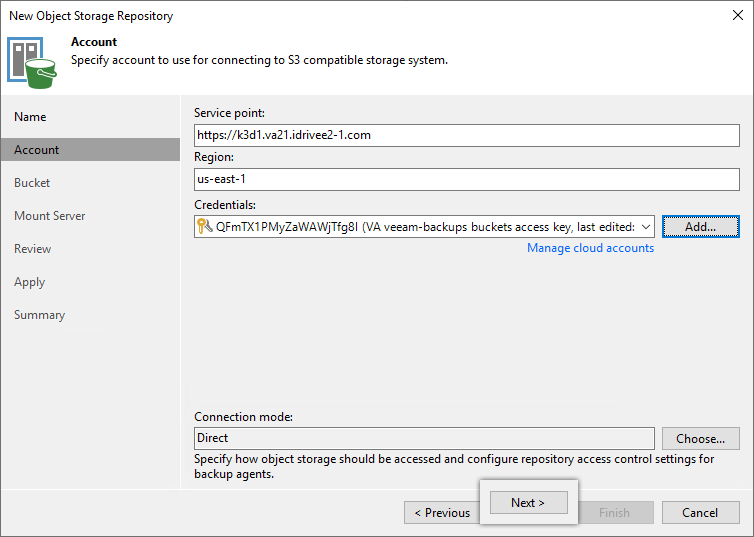
- Input the IDrive® e2 Endpoint URL under Service Point, and Region and click Add. Learn more about regions and endpoints.
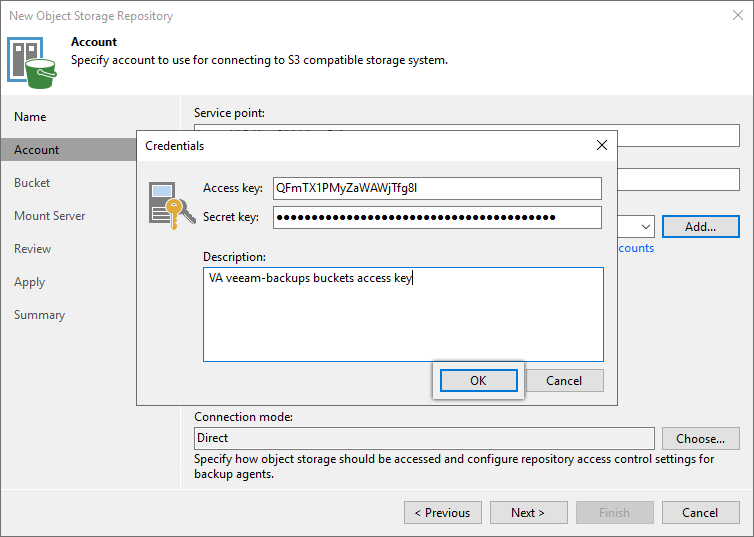
- Input the IDrive® e2 Access Key and Secret Key and click OK.
- Click Next.
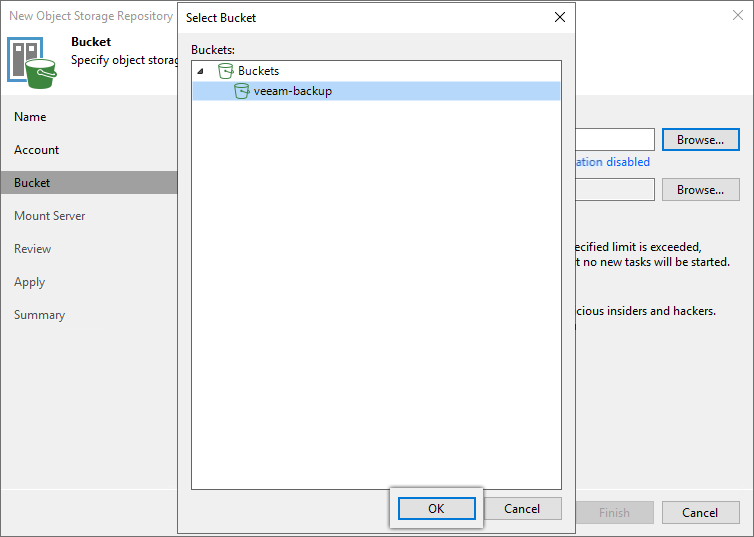
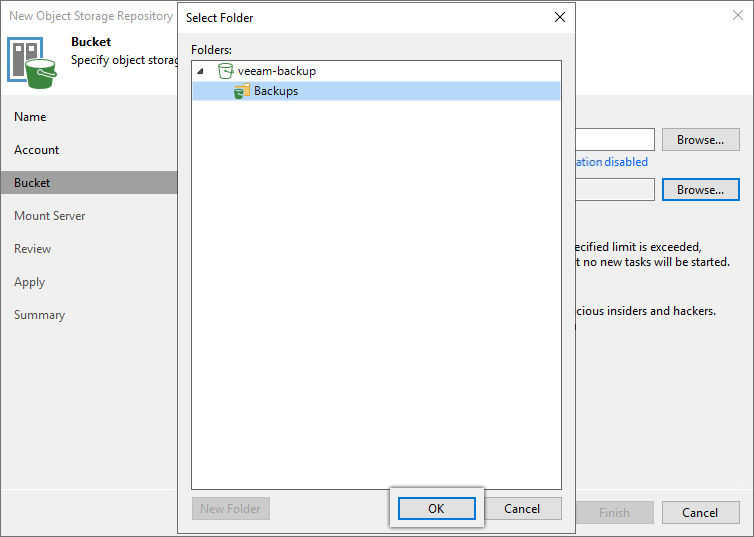
- Click Browse and select the Bucket. Click OK.
Note: Disable Automatic bucket creation enabled by clicking the link and clearing the Create new buckets automatically (recommended) checkbox.
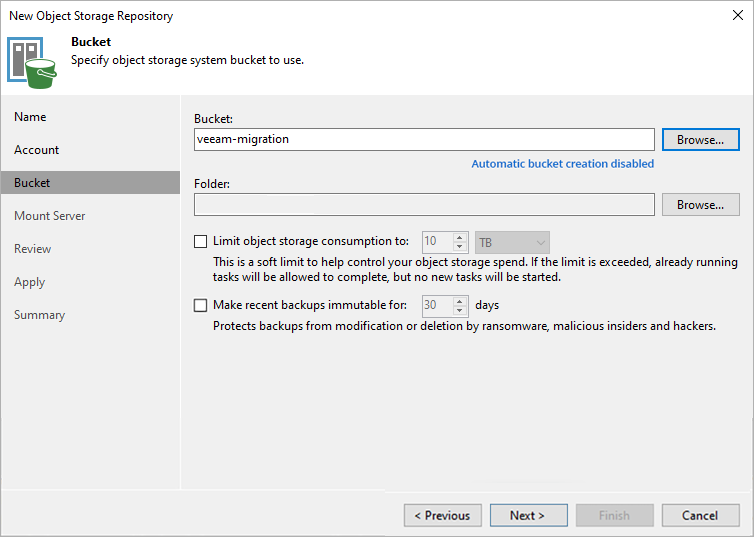
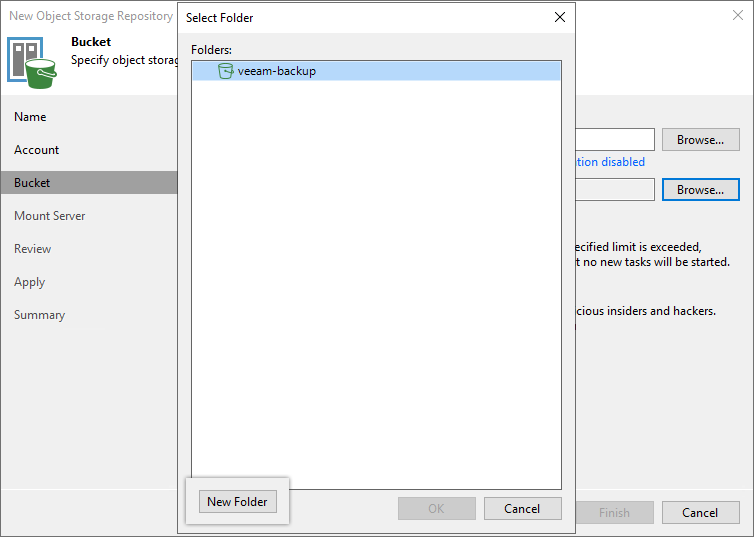
- Click Browse > New Folder. Enter a folder name, press enter key to confirm name, and click OK.
- Select Make recent backups immutable for x days checkbox to make recent backups immutable.
Note:
- We recommend enabling this feature to protect your data from ransomware.
- Automatic bucket creation should be disabled if you select existing bucket from your IDrive® e2 account.
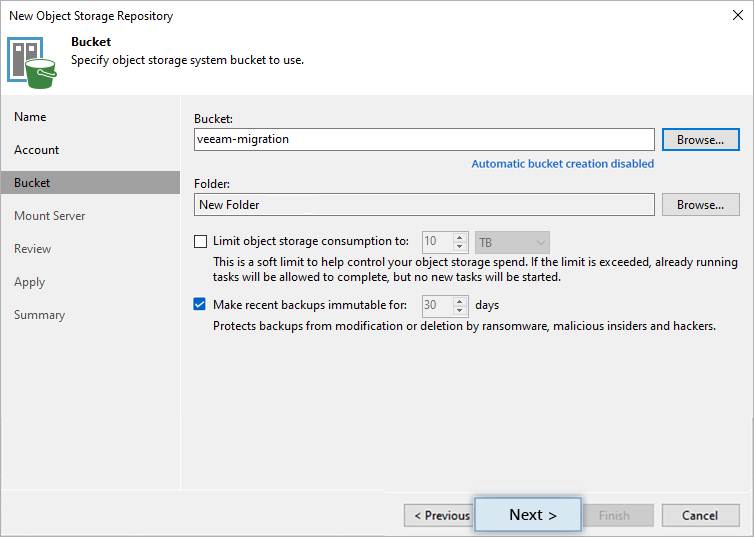
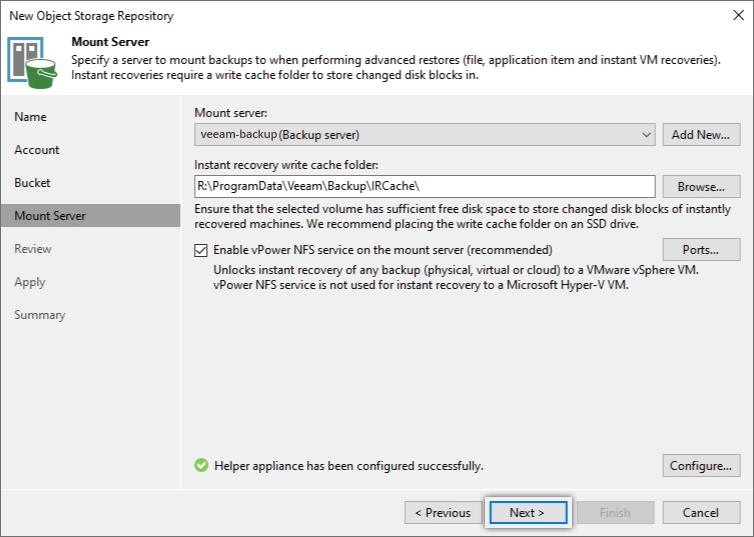
- To mount the server, click Next.
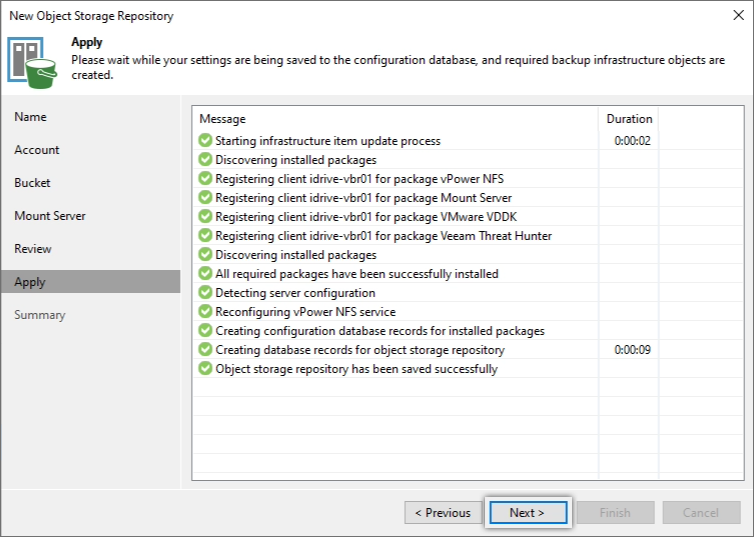
- Review the configuration and click Apply.
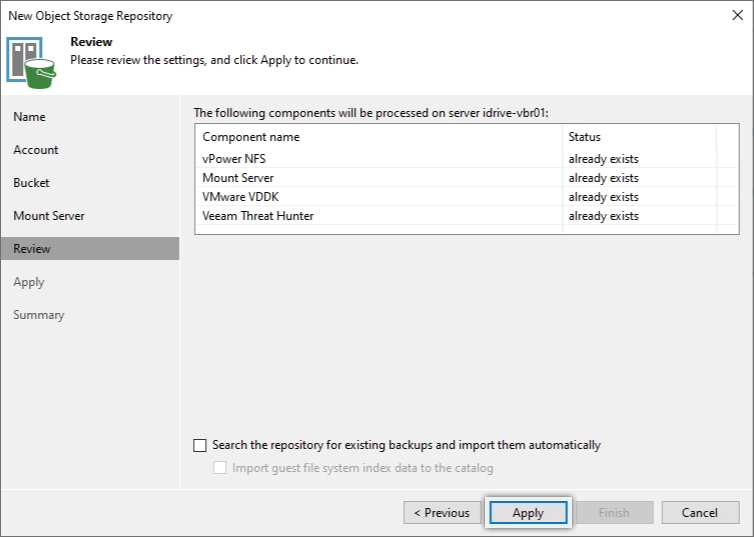
- Click Next.
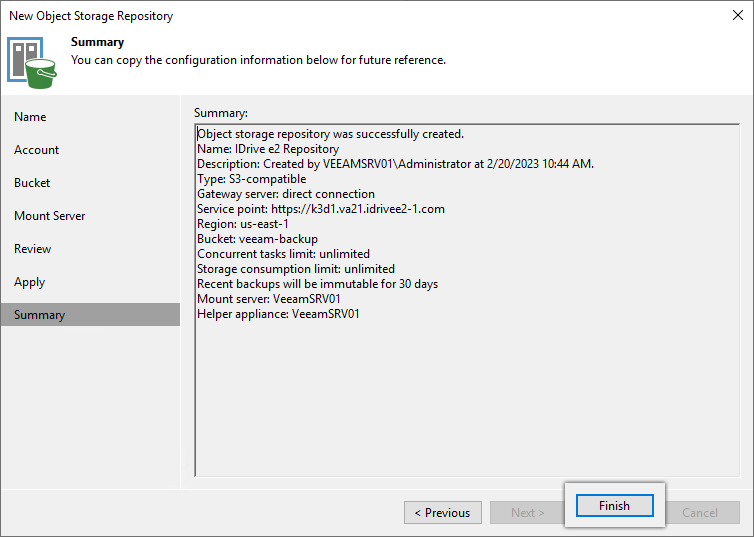
- In the summary tab, review the settings and click Finish.
For detailed step-by-step instructions from Veeam® to add Scale-Out Repository refer here.
Learn how to troubleshoot 'Failed to retrieve certificate' error.
For detailed instructions on how to use Veeam® Backup Job with IDrive® e2. Refer here ![]()
Note:
- Data in object storage bucket/container must be managed solely by Veeam Backup & Replication, including data retention and management. Enabling lifecycle rules is not supported. If enabled, it may result in backup and restore failures.
- Data restoration is handled by Veeam Backup & Replication and is affected by multiple variables that are unique to your environment. For application-related enquiries/support, it is strongly recommended you seek guidance from the technical team of Veeam Backup & Replication.